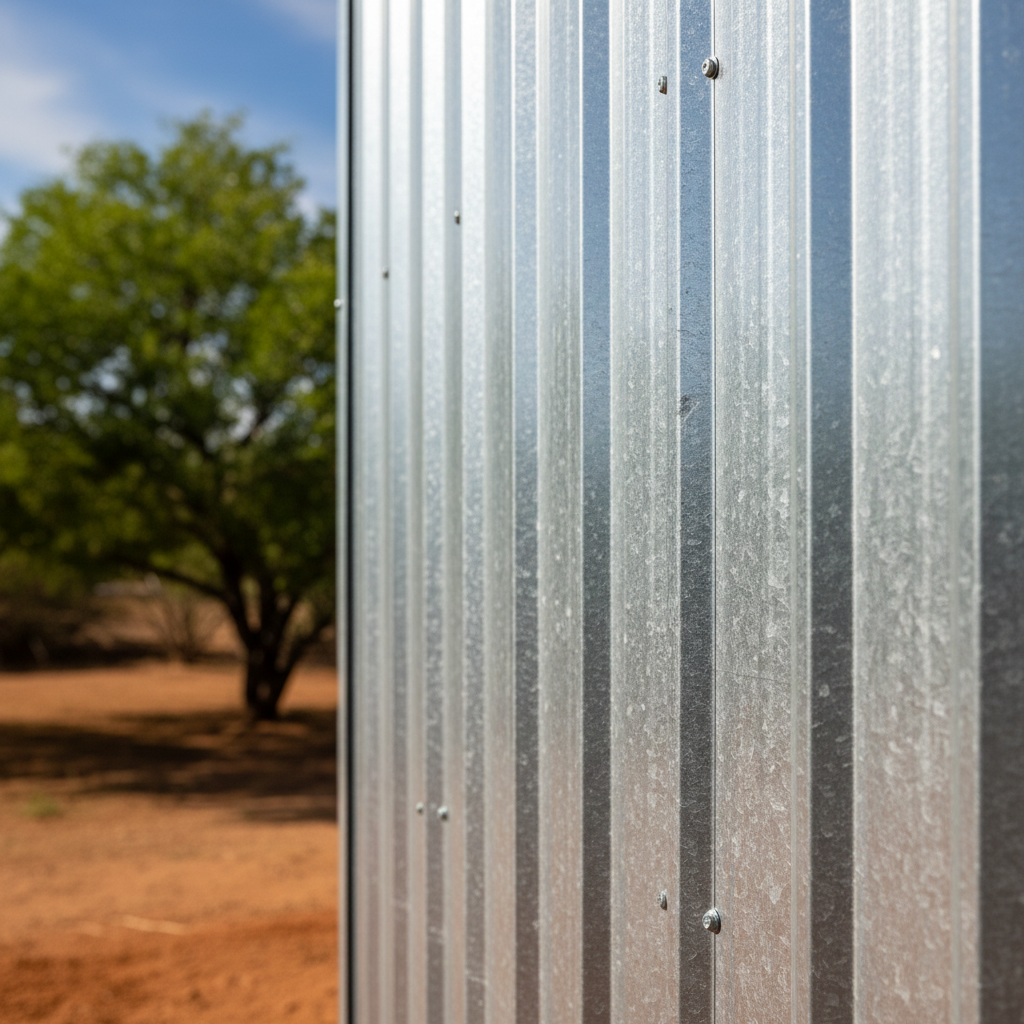
So, you're thinking about a pole barn, huh? Good idea. For folks out here in Peoria, whether you're out in the more rural areas near Lake Pleasant or just need some serious storage on a bigger lot in Vistancia, a pole barn is one of the most practical, cost-effective ways to add space. They're quick to put up, super versatile, and built to last, especially when you're dealing with our Arizona sun and occasional monsoon winds. But before you grab a shovel and start digging, let's talk about what you really need to know.
Before You Even Think About Digging
This is where most of the headaches get avoided. Planning is everything, especially with a structure this size. You can't just throw one up wherever you feel like it, you know?
- Zoning and Permits: This is non-negotiable. You absolutely have to check with the City of Peoria's Planning and Zoning Department. They'll tell you about setbacks from property lines, maximum heights, and any specific architectural guidelines for your neighborhood. Don't skip this step; fines for unpermitted structures are no joke, and you might even have to tear it down.
- What's its purpose? Be clear about what you're using it for. Storage? A workshop? Maybe parking for your RV or boat? Or even an animal shelter? This dictates the size, insulation needs, electrical requirements, and even the type of foundation you'll need.
- Site Prep: You'll need a relatively flat, well-drained area. Our desert soil here can be tricky – some areas have caliche layers that are a nightmare to dig through, while others are loose and sandy. You might need to bring in fill dirt or do some serious grading. This isn't usually a DIY job unless you've got heavy equipment experience.
- Budget: Pole barns are generally more affordable than traditional stick-built structures, but costs add up. Factor in the kit, foundation materials, labor (if you're not doing it all yourself), permits, electrical, and any interior finishes.
- Kit vs. Custom: Most homeowners go with a pre-engineered kit. They're designed to go together, and all the pieces are there. Custom designs are great if you have very specific needs, but they'll cost more and take longer.
During the Build: DIY or Call a Pro?
Okay, you've got your permits, your site is prepped, and your kit is sitting there. Now what? This is where you really need to be honest with yourself about your skills and available time.
What You Can Realistically DIY:
- Foundation Layout: Measuring and marking out your post holes is definitely something you can do. Accuracy here is critical, though. Measure twice, dig once, right?
- Digging Post Holes: If you're physically fit and have access to a good auger (rent one if you don't own one), you can dig the holes for your posts. Just be prepared for whatever our Peoria soil throws at you.
- Assembling the Frame (with help): If you're handy with tools and have a few strong friends or family members, you can absolutely put up the posts, trusses, and purlins. This is where the kit really shines, as everything is pre-cut. You'll need ladders, scaffolding, and a good impact driver. Safety first, always.
- Sheathing and Roofing: Installing the metal siding and roofing panels is repetitive but manageable for most DIYers. It's a lot of screws, but it's not technically difficult.
- Non-Structural Interior Work: Adding shelving, basic workbench setups, or even non-load-bearing partition walls are perfect DIY tasks.
When to Absolutely Call a Pro:
- Complex Site Grading: If your site isn't relatively flat or has significant drainage issues, get a professional excavator in there. It'll save you a ton of grief.
- Concrete Work: Pouring a concrete slab for the floor, especially if it needs to be perfectly level for a workshop, is best left to concrete pros. It's an art and a science, and mistakes are expensive to fix.
- Electrical Wiring: Unless you're a licensed electrician, don't mess with this. It's a safety hazard and a code violation waiting to happen. Get a qualified electrician to run power, install outlets, and hook up lighting.
- Plumbing: If you're adding a sink or toilet, hire a plumber. Period.
- Structural Issues/Doubts: If at any point during the framing you feel unsure about the stability or integrity of the structure, stop and call in an expert. It's not worth the risk.
- Time Constraints: If you're on a tight deadline, a professional crew will get it done much faster than you and a few buddies on weekends.
At Metal Buildings of Peoria, we've seen it all. We can provide the kits, help with design, or even handle the whole build if you'd rather not get your hands dirty. We're here to make sure you get a quality pole barn that lasts.
After It's Built: Maintenance and Longevity
Once your pole barn is up, the maintenance is pretty minimal, which is one of their big advantages. But 'minimal' doesn't mean 'none'.
- Regular Inspections: Walk around it a couple of times a year. Check for loose screws on the siding or roof, especially after a strong monsoon storm. Look for any signs of rust developing, though modern metal panels are usually very resistant.
- Clean Gutters: If you have gutters, keep them clear of leaves and debris. Clogged gutters can lead to water pooling and potential issues.
- Pest Control: Keep an eye out for pests. Rodents love sheltered spaces, and while metal buildings are less susceptible to termites than wood, it's still good to be vigilant.
- Door and Window Maintenance: Lubricate hinges and tracks on sliding doors or windows to keep them operating smoothly.
- Drainage: Make sure water is still draining away from the base of the building, not pooling up against the posts.
A pole barn is a fantastic investment for any Peoria homeowner looking for durable, versatile space. Do your homework, know your limits, and don't be afraid to call in the pros when you need them. You'll end up with a structure that serves you well for decades.